

Snappa for Beginners: Your Guide to Quick Graphic Design
- What is Snappa? It’s a cloud-based graphic design tool perfect for creating visuals quickly without needing complex software.
- How does Snappa work for beginners? It offers pre-made templates, a huge library of stock photos, and an intuitive drag-and-drop interface.
- Can I master Snappa quickly? Absolutely! Its design makes complex tasks simple, allowing you to focus on your message.
- What are the benefits? Produce high-quality images for social media, blogs, and ads in a fraction of the time.
Ready to craft eye-catching graphics for your blog, social media, or website without wrestling with complicated design software? You’re in the right spot! This guide on Snappa for beginners is designed to help you jump right into creating professional visuals in minutes. Snappa is super user-friendly, empowering anyone to produce amazing designs, whether you’re a blogger, marketer, or small business owner looking to boost your online presence.
What is Snappa for beginners and how does it help create graphics quickly?
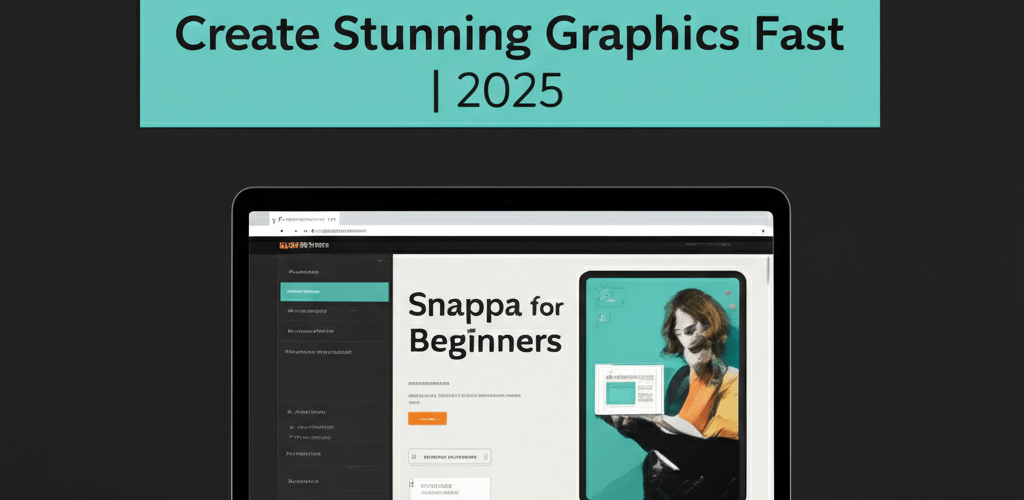
Snappa is a cloud-based graphic design tool made for speed and simplicity. It helps you create visuals fast by giving you thousands of ready-to-use templates, a vast collection of stock photos and graphics, and a straightforward drag-and-drop interface. For Snappa for beginners, this means you can whip up high-quality images for anything from Facebook ads to blog post headers much faster than with traditional design software.
Here’s how Snappa simplifies your design workflow:
- Pre-sized Templates: Start with canvases already perfectly sized for social media, blogs, or ads.
- Drag-and-Drop Editor: Easily add and arrange design elements without needing technical graphic design skills.
- Extensive Asset Library: Access millions of free stock photos, icons, and graphics directly within the tool.
- Custom Fonts & Graphics: Upload your own branding elements or choose from Snappa’s extensive collection.
- Background Remover: Remove image backgrounds with just one click for a professional cutout look.
How do I get started with Snappa basics for graphic design?
Starting your design journey with Snappa is straightforward. The first step to learn Snappa is to create an account. Snappa offers a free plan that lets you access many core features, which is perfect for trying it out. Once you’re signed up, you’ll land on a friendly dashboard where you can pick a template or start a new design from scratch.
Snappa keeps its interface clean and easy to use, ensuring even newcomers to graphic design can navigate it without a hitch. If you’ve looked into Snappa alternatives, you might find Snappa’s simplicity a refreshing change, especially compared to tools with steeper learning curves.
How do I sign up and navigate the Snappa interface as a new user?
To sign up and get comfortable with Snappa:
- Go to the Snappa website and sign up for either a free or paid account.
- After logging in, choose your desired image dimension or select from popular presets like Instagram Post or Blog Graphic.
- Get familiar with the left-hand panel. This is where you’ll find all your design elements: backgrounds, graphics, text, shapes, and options to upload your own files. For those diving deeper into various different file formats in graphic design, understanding where to manage uploads is key.
Can I master Snappa design quickly with a practical tutorial?
Yes, you can absolutely master Snappa design quickly with a practical tutorial. Now that you’re familiar with the basics, let’s create your first graphic. This Snappa tutorial will walk you through making an eye-catching visual. The best part about Snappa is how it makes seemingly complex design tasks feel simple, letting you focus on your creative message. For additional ideas, consider exploring inspiration guides for eye-catching designs.
Many beginners compare graphic design tools. While some might think of complex software like Snappa vs. Photoshop, Snappa truly shines in delivering professional results without the extensive training Photoshop requires. It’s ideal for quickly creating impactful visuals.
Can you guide me through creating my first graphic with Snappa?
Let’s create your first graphic with this step-by-step Snappa guide:
- Choose a Template: From your dashboard, select a template that fits your content. This is usually the quickest way to kick off your social media content for graphic designers.
- Customize Background: Click ‘Background’ in the left panel. You can upload your own image, pick a stock photo, or choose a solid color/pattern.
- Add Text: Select ‘Text’ from the left panel. Choose a heading, subheading, or body text. Double-click to edit and use the top toolbar to adjust font, size, color, and alignment. Explore more about serif vs sans-serif typography to pick the perfect style.
- Insert Graphics: Go to ‘Graphics’ to add icons, vectors, or shapes. Search for keywords and drag your chosen graphic onto your canvas.
- Upload Images: Have specific brand assets or images? Click ‘Uploads’ to add them to your library and then to your design.
- Arrange and Layer: Use drag-and-drop to position elements. The ‘Layers’ tab helps you adjust their order (bring forward/send backward).
- Download Your Design: Happy with your creation? Click ‘Download’ in the top right. Choose your format: JPG, PNG, Retina PNG, or PDF. You might also want to check out this free PNG resource.
What are advanced tips to learn Snappa faster and enhance designs?
While the initial steps make Snappa for beginners incredibly accessible, exploring advanced features can truly elevate your designs. Don’t hesitate to play around with the various effects and tools. Using features like the image background remover or applying creative filters can give your visuals that extra professional touch. If you’re looking to enhance your skills further, think about the growing as a graphic designer beyond basic tools.
For those eager to unlock the platform’s full potential, diving into Snappa tips articles can offer valuable insights into advanced techniques and shortcuts, making your workflow even more efficient.
- Brand Kits: Set up a brand kit with your logos, colors, and custom fonts. This ensures consistent branding across all your designs.
- Image Effects: Experiment with blur, color overlays, and other effects to make your images truly pop.
- Smart Cropping: Use Snappa’s smart cropping features to perfectly fit images into your design without losing important elements.
- Team Collaboration: If you’re working with others, leverage Snappa’s collaboration features to share and edit designs seamlessly.

